
DENTURE WAX TRY IN APPOINTMENT
It is challenging for a dentist to select teeth that accomplish looks and functions.
A well-delivered service pays off through the active participation of the patient.
A dentist must try waxed dentures in the patient’s mouth before dispatching them.
Once the dentures are processed, it is difficult and painful and sometimes impossible to perform any alteration, whereas, in the wax stage, it is easy to make modifications.
So the clinical try-in provides the last convenient opportunity to make any alterations in a denture.
Your denture wax Try-in appointment
You are allowed to observe and accept the teeth at the try-in appointment of your waxed up denture. The dentures are not going to be completed until your approval.
You will be provided a mirror and waxed dentures in the mouth and passed to watch the dentures during regular conversation and facial appearance.
You can bring the most critical family member or friend to assist in judging the presence of the waxed up trial dentures.
When you, dentist and staff and your friend are satisfied with the appearance; sign a statement that states:
“I have been given the opportunity of looking at the final arrangement of the artificial teeth (while positioned in wax)”.
Role of family member or friend in denture wax Try in appointment
I insist you come with someone whose opinion matters to you.
They can observe you both accurately and personally.
The observer looks at the overall appearance when you are relaxed, smiling, and talking.
Dentist role
DENTURE WAX TRY IN APPOINTMENT PROCEDURE
“Beauty lies in the eye of the beholder”
Those dentists whose concepts of aesthetics are pleasing to many are outstanding, whereas whose works do not appeal soon suffer from a lack of patients.
One who owned beautiful natural teeth but had to lose them is usually exacting about the looks of dentures and wants them to seem real.
On the other hand, the unfortunate lady who has had not so good teeth all her life wants a change. She may contend on having a change to the extreme.
Fulfilling the patient’s primary desire is vital to the success of new dentures. If the patient’s ideas are entirely wrong or just not practical, they should be tactfully explained away early in the procedure. At all times, we must be aware of what our patients are conceiving.
A bowl of cold water is kept for frequent chilling of the trial dentures.
If the dentures are left in the mouth for more than a few minutes, softening and deformity of the wax may occur.
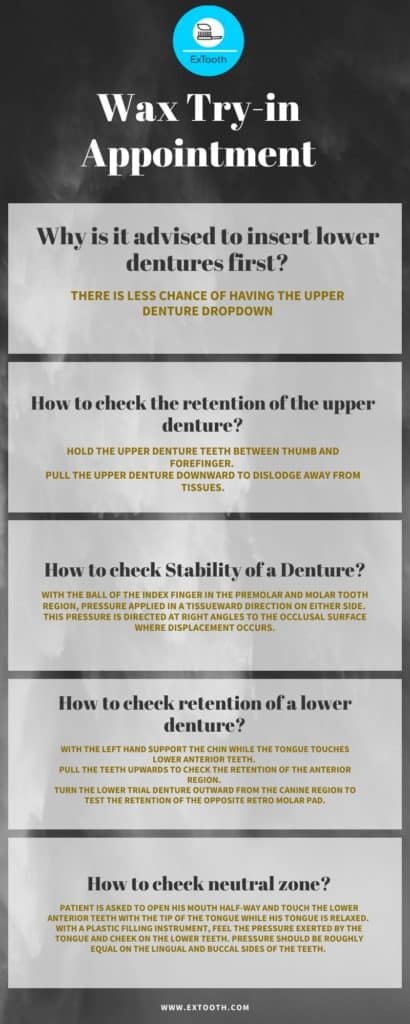
Why is it advised to insert lower dentures first?
It is usually desirable to insert the lower denture first because there is less chance of having the upper denture dropdown. The patient is seated upright. The patient’s head is not supported by the headrest (the headrest may affect the physiologic rest position of the jaw so, it affect the amount of interocclusal distance).
Checking Retention
How to check the retention of the upper denture?
Place the upper denture and seat with a firm upward and backward pressure. Hold the upper denture teeth between thumb and forefinger. Pull the upper denture downward to dislodge away from tissues. If the retention is good it’s difficult to take it out.
A subjective test for checking physical retention is attempted by displacing the denture away from the tissues by exercising a vertical pull on the anterior teeth.
If the retention is excellent, dislodgement may be extremely difficult or even impossible.
Upper denture usually has excellent retention.
Retention of a lower denture is often poor because of the relatively small denture bearing area and the difficulty in obtaining an adequate border seal.
How to check the Stability of a Denture?
With the ball of the index finger in the premolar and molar tooth region, the pressure applied in a tissueward direction on either side. This pressure is directed at right angles to the occlusal surface where displacement occurs.
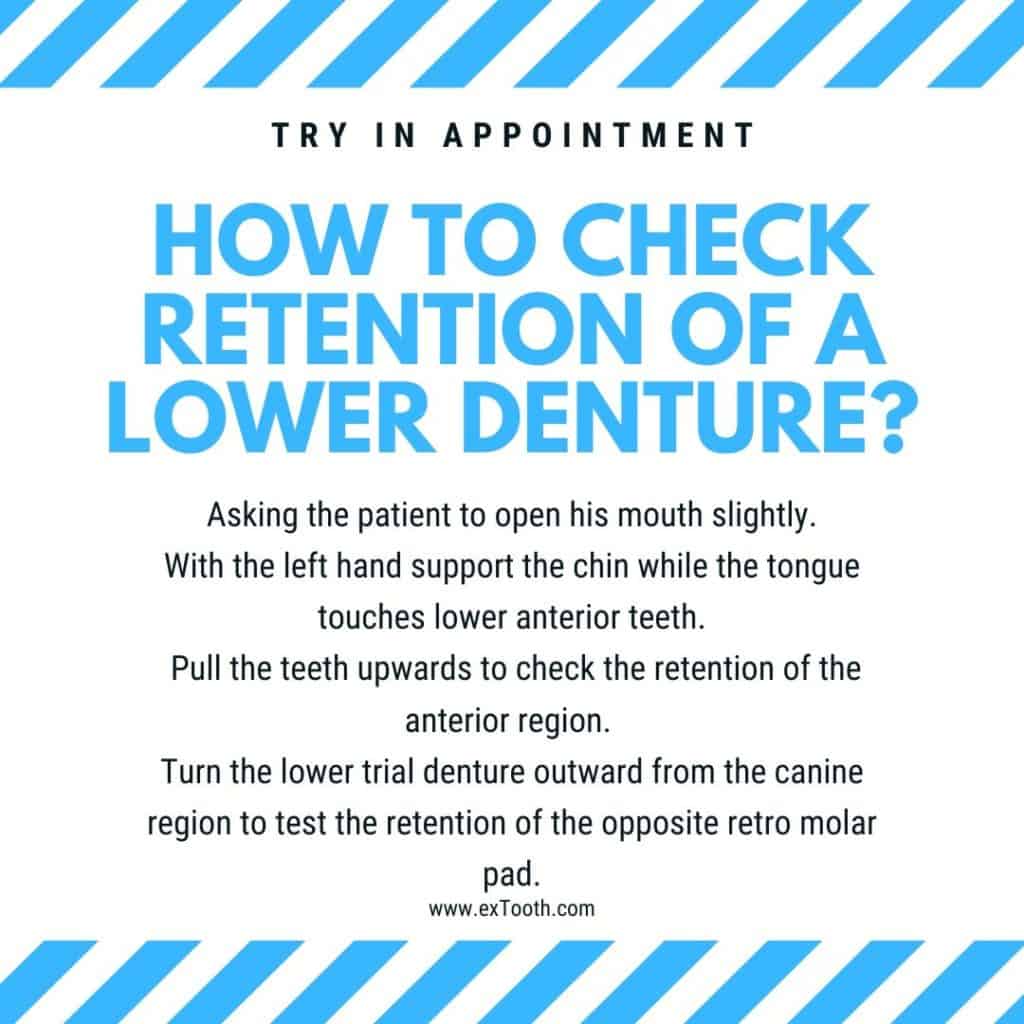
How to check retention of a lower denture?
Asking the patient to open his mouth slightly.
With the left hand support the chin while the tongue touches lower anterior teeth. Pull the teeth upwards to check the retention of the anterior region.
Turn the lower trial denture outward from the canine region to test the retention of the opposite retro molar pad.
The cramped tongue is seen when there is a lack of tongue space
Tongue causes instability of the lower denture.
Reasons for cramped tongue
- Posterior teeth set lingual to the neutral zone
2. Posterior teeth shifted lingually
3. Posterior teeth too broad buccolingual
How to check sufficient space for tongue?
Asking the patient to lift the tongue.
If the tongue is crowded, the denture will start to lift immediately. As the tongue moves, it attempts to extend sideways, and whenever the tongue moves, the denture will shift.
Denture Base Extension
Overextension of the denture flanges
Stretching of the sulcus tissues is present in overextension of flanges.
Nevertheless, in the lingual area clarity is poor, so the dentist will have to make an assessment based on the behavior of the lower denture as the tongue is moved.
Correction of overextension is done by reducing the depth of the offending flange.
The presence of under extension
When the depth of the sulcus is more significant than that of the denture flange during an intra-oral examination
Failure to do this results in diminished physical retention of the finished dentures and unequal distribution of forces.
Neutral Zone
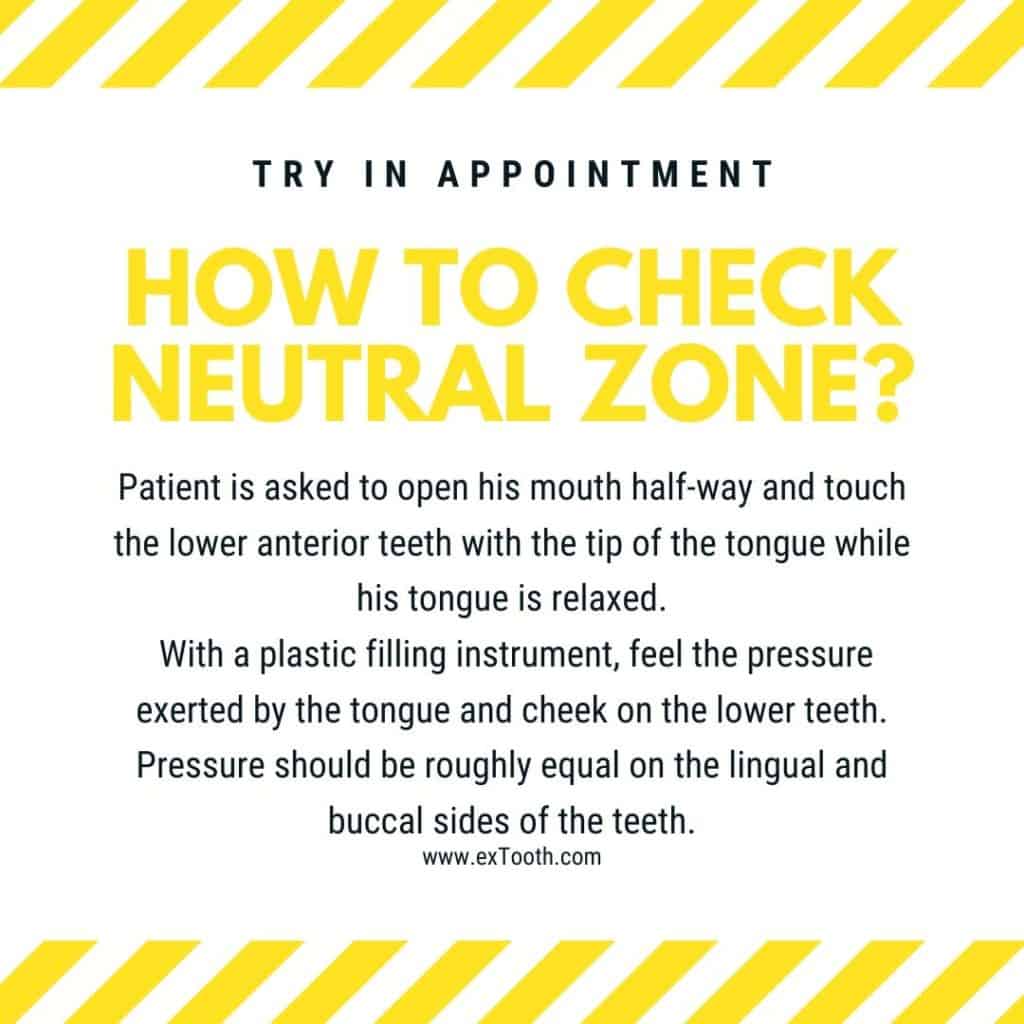
How to check neutral zone?
Patient is asked to open his mouth half-way and touch the lower anterior teeth with the tip of the tongue while his tongue is relaxed. With a plastic filling instrument, feel the pressure exerted by the tongue and cheek on the lower teeth. Pressure should be approximately equal on the lingual and buccal surfaces of the teeth.
When the lower denture is implanted, it should remain in place when the mouth is half-open, and a restricted range of tongue movements carried out.
A useful ‘rule of thumb’ is the golden rule. A lower denture will normally be stable if narrow teeth are used and are arranged as far buccally, or labially, as possible without displacing the cheek and lip tissues.
By sustaining this, the maximum tongue room is provided within limits directed by the lips and cheeks.
Verification of jaw relation record
Verifying centric jaw relation record
The jaw is pulled back by the patient as far as it will go, and closure is stopped at the first tooth contact.
The patient is guided into the most retruded position of jaw. This position is bought pacing thumbs on the chin, and the index fingers bilaterally on the buccal flanges of the lower trial denture.
With the index fingers, the dentist checks that the lower trial denture is seated in an inferoanterior direction.
The patient then pulls his lower jaw back as far as it will go and closes just until the back teeth make a “feather touch.”
As tooth contact advances, the dentist’s index fingers should lift off the buccal flanges. Pressure on the buccal flanges, or pulling the lip with the index fingers, will generate the chance of posteriorly displacing the lower trial denture. Then the patient closes tightly.
Any error in position(CR) will be apparent when the teeth slide over each other, mainly if anatomical teeth are used.
A second closure made with the same instructions and a stop at first tooth contact will permit visual observation of any error.
All the teeth that occluded uniformly on the articulator must have equally uniform contacts in the mouth. Dawson describes this technique for recording Centric Relation (CR).
Correction of the centric relation
Technique 1
The posterior teeth are separated from the lower occlusion rim, and both occlusion rims are put in the mouth.
Impression plaster (bite registration paste), is mixed and placed on both sides of the lower occlusal rim in the molar and premolar regions.
Then the patient is instructed to pull the lower jaw back and close at this point until inquired to stop and hold that position.
The closing is stopped when the anterior teeth have the same vertical overlap as they had before removing the posterior teeth.
When the plaster or registration paste is anchored, the new record is transferred with the two occlusion rims, and the lower cast is remounted on the articulator. This technique is my favorite.
Technique 2
In an alternate method, beeswax occlusal rim is used to replace the removed posterior teeth. The patient is guided into the most retruded position until the upper posterior teeth will indent the softened opposing wax rims.
The lower cast is remounted on the articulator, and the lower posterior teeth are reset in centric occlusion.
Eccentric jaw relation records
The ideal significance of protrusion for making the record is the amount of protrusion necessary to bring the anterior teeth edge to edge.
However, the mechanical limitations of most articulators being protrusive movement recorded up to 6mm.
Methods of registering the condylar path may be classified as
– Intraoral
– Extraoral
The Gysi and McCollum techniques generally exemplify Extraoral ways.
The intraoral methods
– Plaster and carborundum grind-in,
– Chew-in by teeth opposing wax,
– Chew-in modified by a central bearing point,
– Needles’s styluses cutting a compound rim,
– Needles’s technique modified by a Messennan tracer,
– Protrusive registration in softened compound,
– Protrusive registration in plaster, and
– Protrusive registration in softened wax.
Plaster interocclusal record is made for Centric Relation (CR).
The patient is instructed to protrude the jaw farther when the protrusive record is made.
The least amount of protrusion for condylar guidance adjustment is 6 mm.
Lateral interocclusal records can be made to set the condylar inclination. We then adjust the mandibular lateral translation on the articulator.
Moreover, most semi-adjustable articulators are not able to accept many eccentric lateral records.
Eccentric interocclusal records may be made with extraoral tracings.
While the tracing device is still attached to rims, the amount of protrusive movement is determined by observation of the distance between the apex of the tracing to needlepoint. The number and direction of the lateral movement can be concluded by following the distance of the needle point from the apex of the tracing while the needle is on one of the arcs of the tracing. When the needle point is 6 mm from the top, the mandible in the first molar region will be roughly 3 mm lateral to its position in CR.
The molar tooth will have shifted laterally 3 mm because it is almost midway within the tracing and the working-side condyle.
Freeway Space
The lower denture is inserted, and the vertical dimension at rest is measured.
Then, the upper denture is inserted, and the occlusal vertical dimension at occlusal is measured by asking the patient to occlude, and freeway space is calculated.
Subsequently, the patient is directed to speak while wearing the trial dentures.
The teeth do not usually contact during speech but approximate more closely when we say ‘S’ sound. The parting of upper and lower teeth is grasped as the closest speaking space and is usually about 1 mm.
If the occlusal vertical dimension of the trial dentures is excessive, space may be taken; correspondingly, it will be increased if the occlusal vertical dimension is too short.
This evaluation can be made by asking the patient to count from ‘sixty’ to ‘seventy.’
If the freeway space is too big, it is corrected by adding the suitable depth of wax to the occlusal surfaces of the posterior teeth on one of the dentures and then recording the jaw relationship in the retruded contact position ( Centric Relation).
If the freeway space is too minute or absent completely, teeth are removed from one of the dentures and replaced with a wax rim before the new recording can be made.
Esthetics


Observing the effects of the denture form on the lips and cheeks.
Study the lip for comfortable closure or extreme bulging. Corrections is made by adding or reducing wax to the wanted area. Instruct the patient to slightly open the mouth and examine the relation of the maxillary incisors to the lip. Normally, 1- 2 mm of tooth is visible beyond the lower border of the relaxed lip. Guide the patient to smile and analyze the high lip line. Check the midline of both the dentures with a slip of dental floss. Perform any needed corrections in position of the anterior teeth.
Summary
The dentist at the denture for wax try-in appointment should check for:
- The bases for fit and extension.
- Thin labial flange at frenum area
- Posterior palatal seal and length of maxillary denture
- Posterior tooth position for height of plane, relation of plane to the ala-tragus line, tongue room, and ridge relation
- Anterior tooth position for lip support, length, and relationship to the lower lip
- The whole setup for vertical dimension of the face. Test stability and simultaneous tooth contacts in all wanted positions. If differences exist between the articulator and the mouth, make new jaw relation records.
- Check palatal contour and incisor positions in speaking. Use “F” and “V” sounds to test the maxillary incisors, and sibilant sounds for vertical dimension and lower-to-upper incisal relationships.
- Wax-up for support and proper external form. If tori exist on the maxilla or mandible, be sure there is sufficient thickness to allow relief later on.
- Be sure to repeat and continue the instruction of the patient in understanding and handling of the new dentures.
REFERENCES
- Zarb-Bolender; Prosthodontic treatment for edentulous patients; 12th edition
- Sheldon Winkler; Essential of complete denture prosthodontics; 2nd edition
- R.M. Bhasker and J.C. Davenport; Prosthetic treatment for edentulous patients; 3rd edition